Deploying the VMware vCenter Server Appliance (VCSA) 6.5 from Mac OS
This article will show you how to deploy the VMware vCenter Server Appliance (VCSA) 6.5 from the Mac OS, using the now native VCSA installer for Mac, which is located on the VCSA install media.
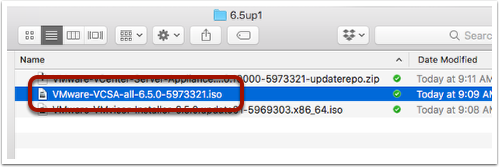
Mount the VCSA ISO
Download and double-click on the ISO for the VMware VCSA appliance. This will mount the ISO on your Mac.
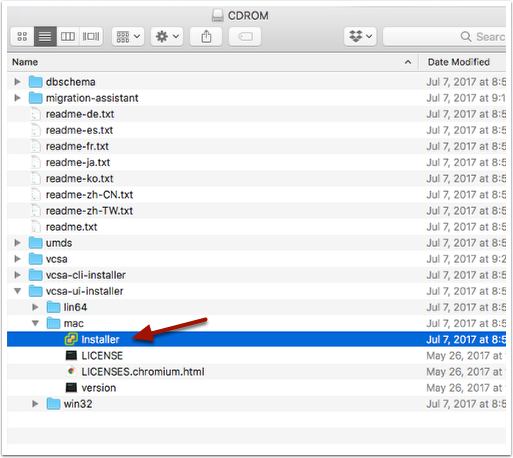
Starting the VCSA Mac Installer
Navigate to the mounted media in Finder, which will be labeled “CDROM”. Browse under the “vcsa-ui-installer” directory, then choose the “mac” directory. Finally, double-click on the “Installer” application.
vCenter Server Appliance Installer
The installer application will launch. The below message will be shown. Click on the “Browse” button to point to the mounted ISO path.
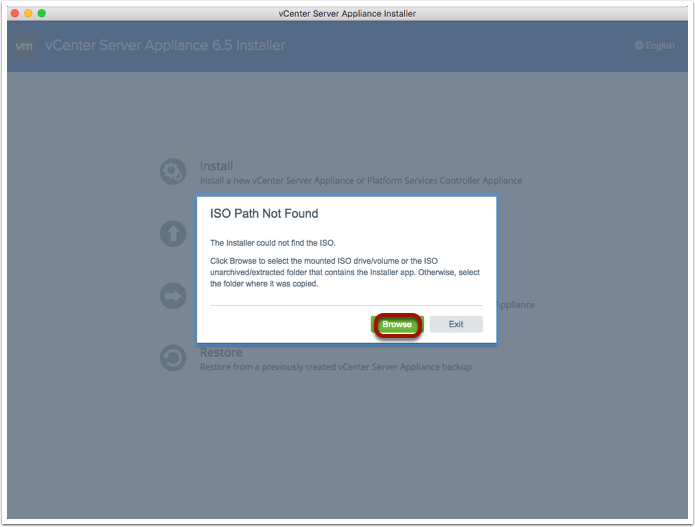
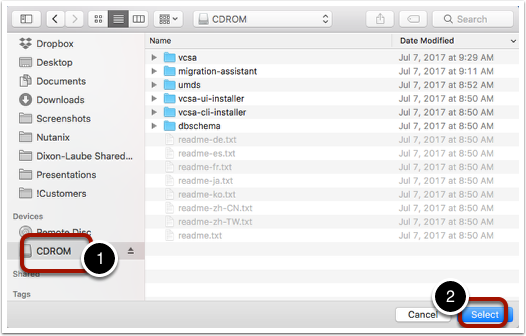
To select the mounted ISO, click on the “CDROM” device from the mounted ISO (1), then choose “Select” (2).
Installing the vCenter Server Appliance
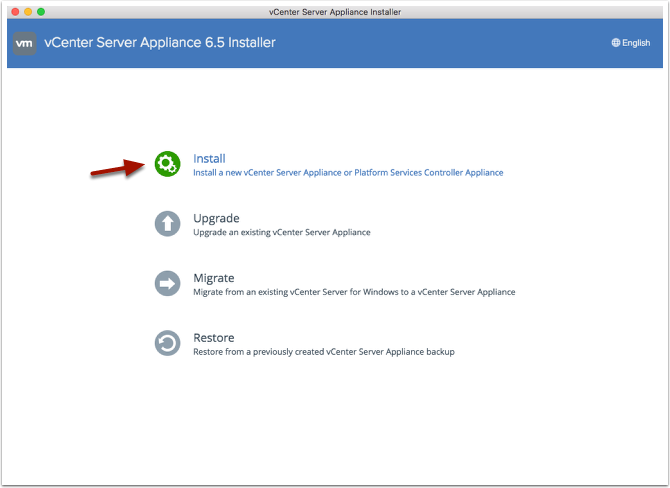
Choose the “Install” icon as shown below.
Note, you can also use this installer to perform upgrades to an existing VCSA instance.
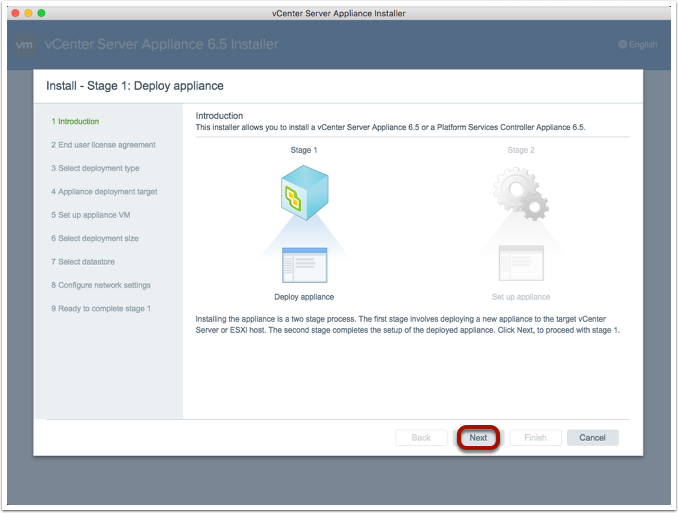
On the introduction screen, choose “Next” to get started.
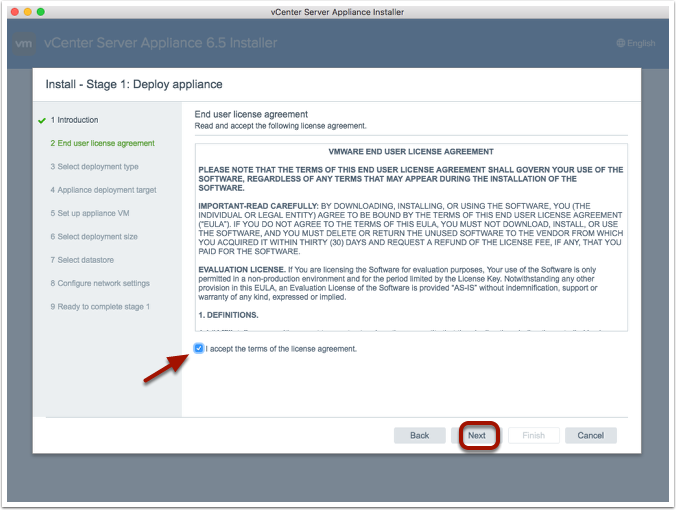
On the End User License Agreement (EULA) screen, click on the checkmark button to accept the EULA and then click on the “Next” button.
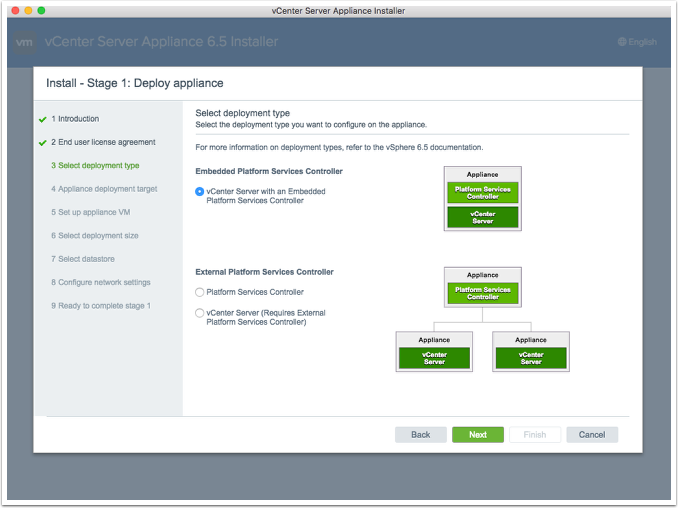
Deployment Type
On the “Select Deployment Type” screen, choose the type of deployment that you would want. In my example below I’m just using the embedded Platform Services Controller (PSC), which would work for most type of deployments. For larger enterprise deployments, you might already have a PSC deployed, so you would point to that one. For more information about the PSC, check out this helpful blog post here.
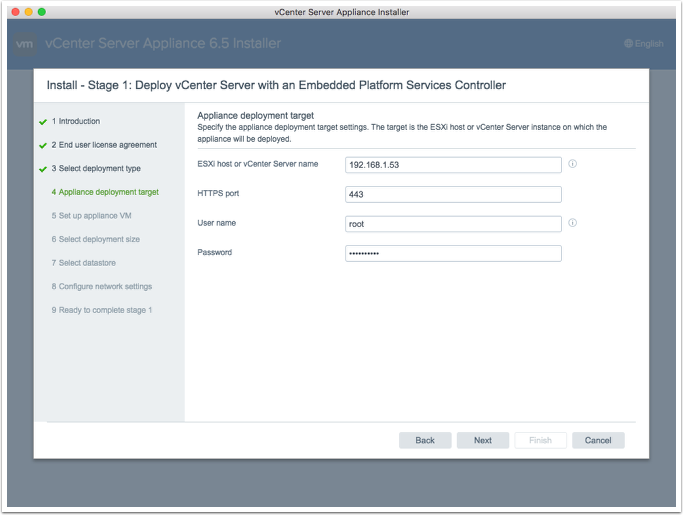
Appliance Deployment Target
Type in the IP address or host name of either the ESX server or existing vCenter Server where you want to deploy the VCSA at. In my example below, I’m just deploying directly to an ESXi host.
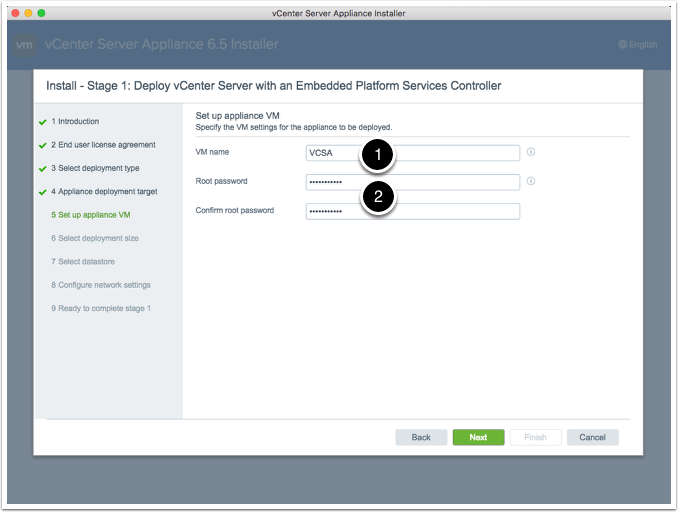
Setting up the Appliance VM
Type in the name that you wish to use for the VCSA (1).
Next, specify the root password that you want to use for the VSA (2).
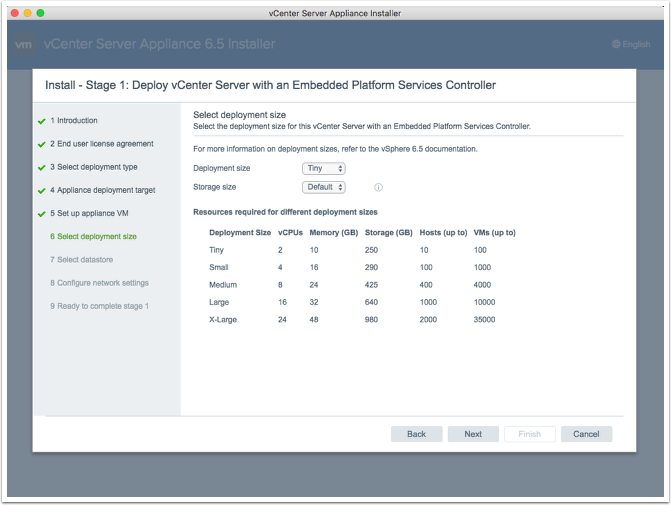
Specifying the Deployment Size
Choose the deployment size for the VCSA, which changes the resources allocated to the VCSA VM. This affects how many hosts and virtual machines the VCSA can manage.
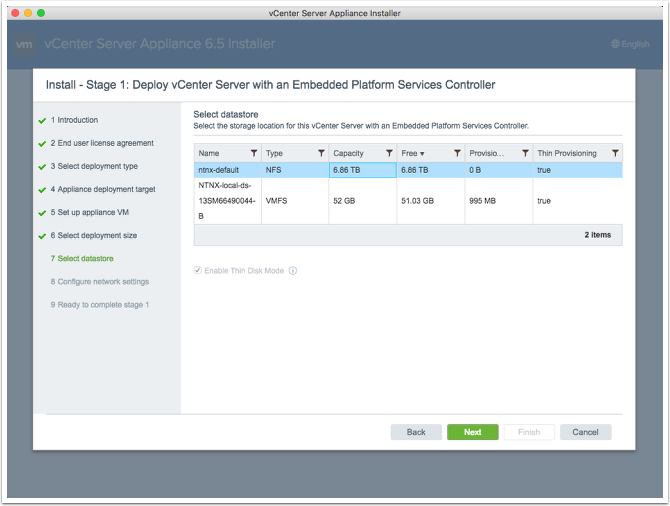
Target Datastore
Next, choose the target datastore where the VCSA will be deployed. In my example below, I’m choosing the shared Nutanix datastore that has already been mounted to the host through Prism.
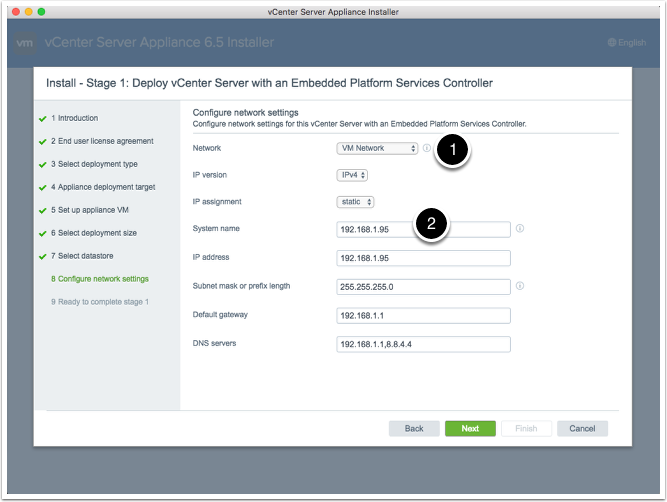
Configuring Network Settings
Configure the network information for the VCSA, including the vSwitch port group (1) and IP information (2).
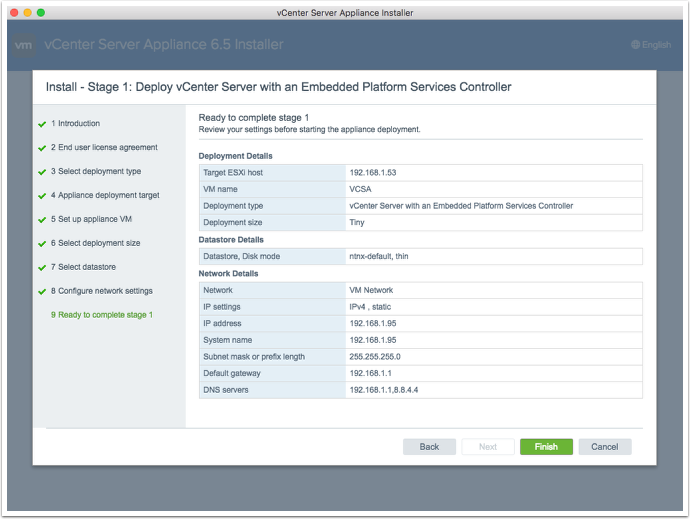
Deployment Summary
Verify the settings on the summary screen and to start the deployment, click on the “Finish” button.
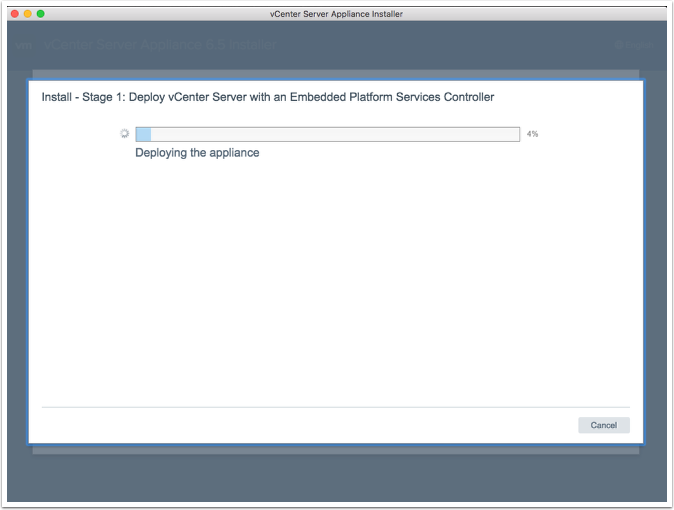
Once the deployment starts, a status screen will be shown.
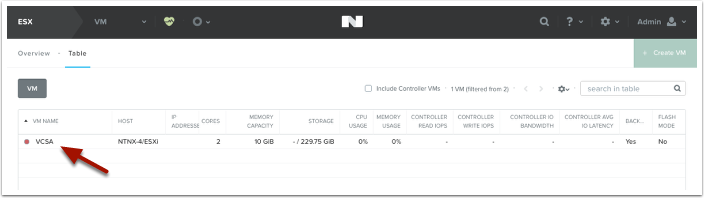
During the deployment, if you look within Prism, you’ll see the VCSA virtual machine get deployed and powered on. This verifies that the installer is actually doing something.
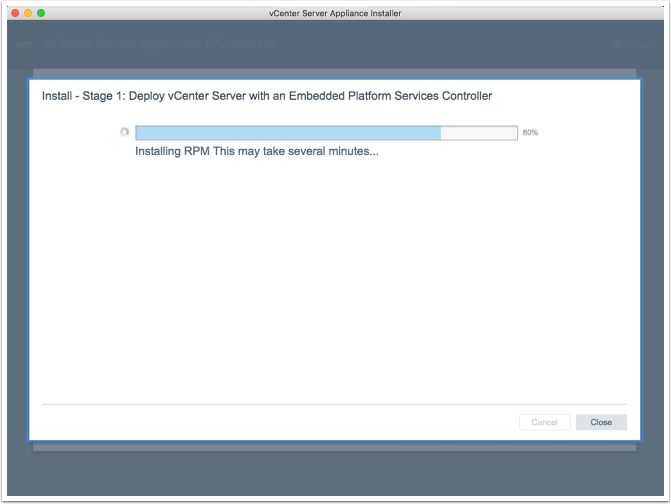
The status screen will continue updating with various steps that the installer is completing.
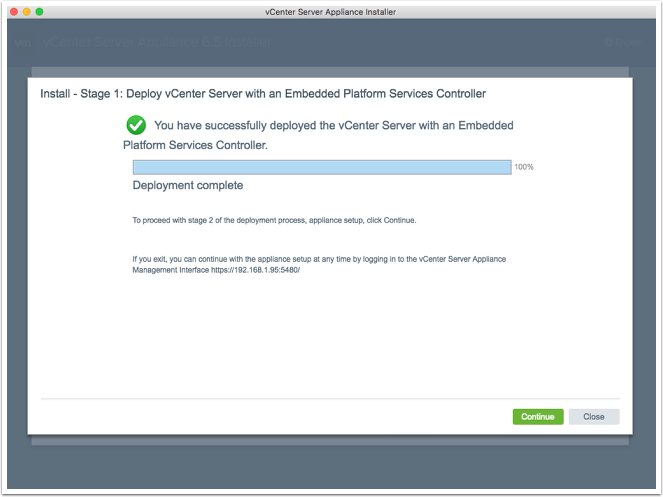
Deployment Completed
Once the deployment is completed, you will see a screen like the one below.
Click on the “Continue” button to begin the VCSA setup wizard.
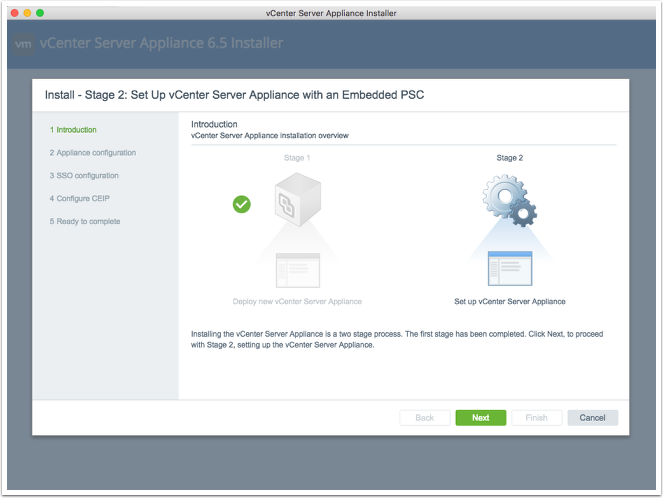
Set up VCSA
To begin the setup of the VCSA, click on the “Next” button on the wizard that has been started.
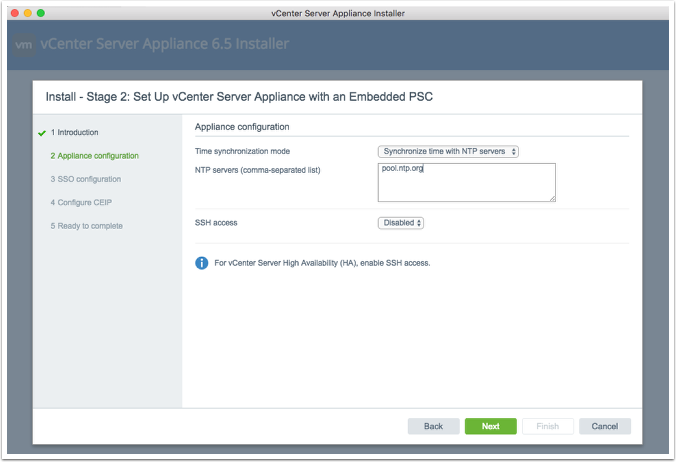
Appliance Configuration
Choose your option for the NTP server setup so that the VCSA can sync its time. For SSH access, I would typically leave this disabled due to security reasons, but your environment might be different.
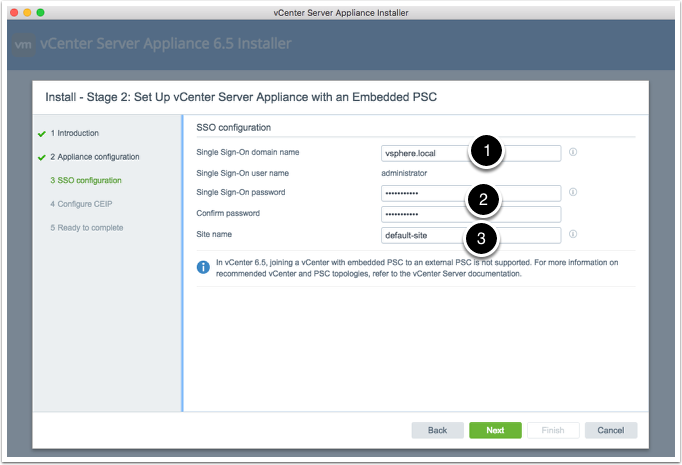
Setting Up VCSA SSO
Next, set up the Single Sign-On (SSO) settings. This includes the SSO domain name (1), SSO password (2) and the SSO site name (3).
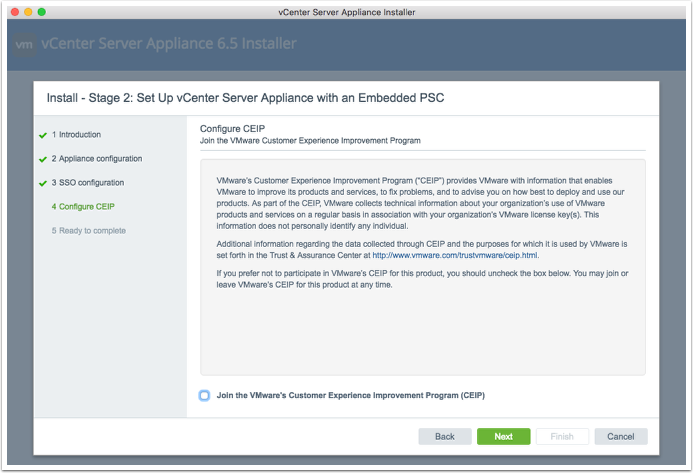
Choose if you want to join the VMware Customer Experience Improvement Program (CEIP). Then click on the “Next” button to continue.
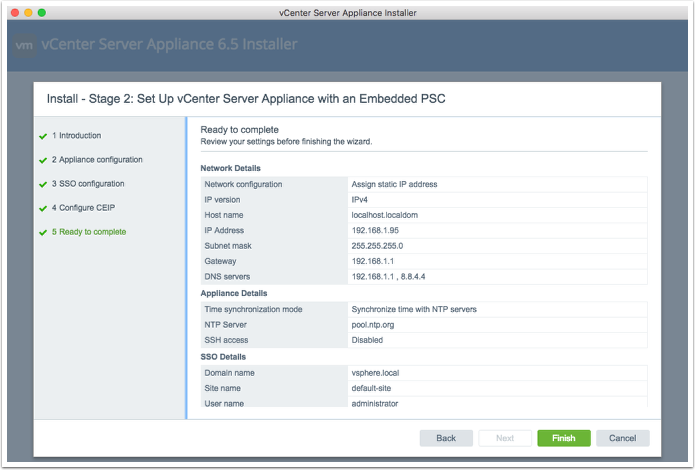
On the summary screen, review your settings and click on the “Finish” button to complete the deployment.
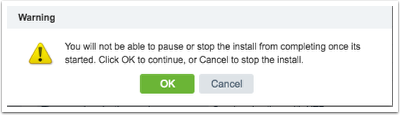
For the displayed warning message, click on the “Ok” button to continue.
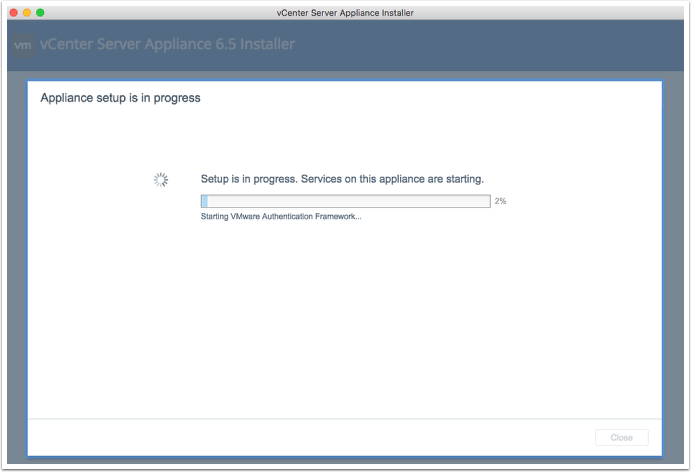
The status screen will be shown displaying the various steps that the deployment wizard is completing.
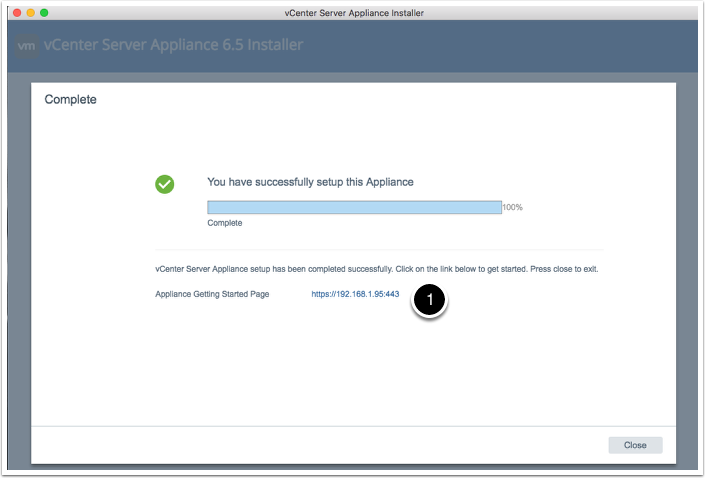
Configuration Completed
Once the configuration is completed, a completion screen will be shown. The VCSA has now been deployed and configured. Click on the displayed web link (1) to launch the vSphere Web Client.
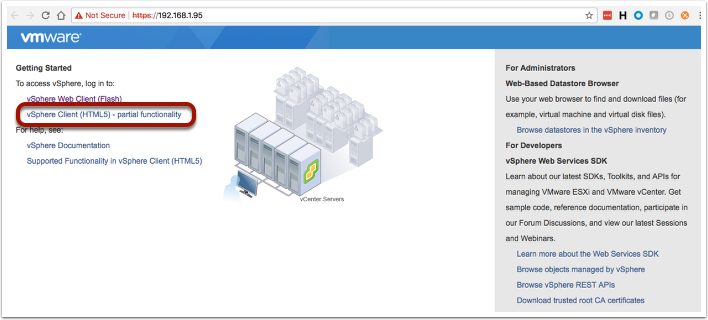
On the getting started page, click on the “vSphere Client (HTML5) link to launch the vSphere Client. Or you could use the “Flash” version if you prefer.
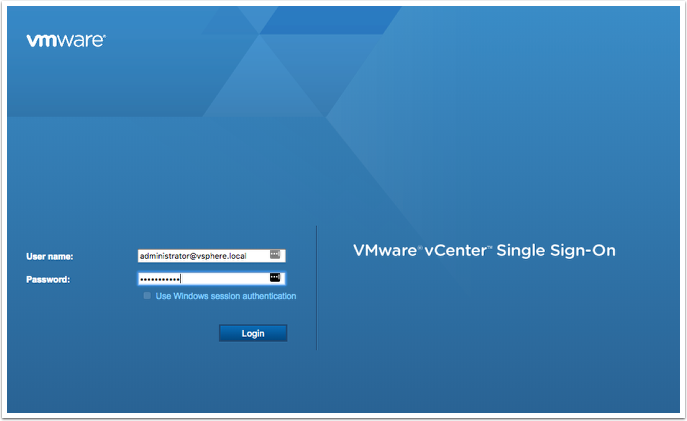
Signing Into VMware vCenter
On the login screen, enter the username and password that was set up during the deployment (eg: [email protected]) and click on the “Login” button.
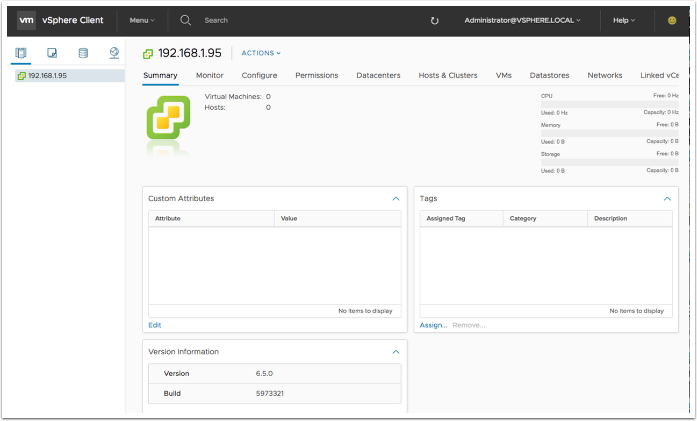
Success!
Once you have signed in, congrats, you have successfully deployed the VCSA!
The next steps (which are beyond the scope of this how-to) would be to create a datacenter, add a cluster, and then add your ESXi hosts into the cluster.